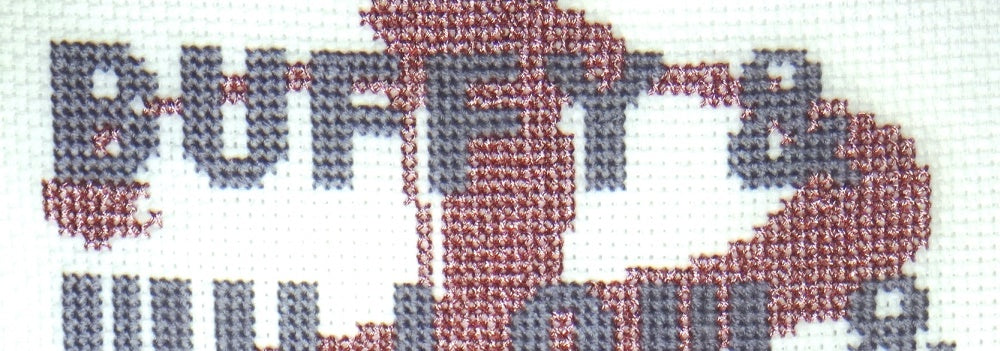
When choosing the color for Buffy's "B" logo, I tried to think of how to best represent all that is Buffy. The purple-y pink color seemed right, but in order to convey all that is Buffy, we had to go sparkly, and that meant metallic threads.
Metallic threads can be a bit tricky, to be sure. Just search any online stitching groups for "metallic," and watch the curse words fly. One thing they don't tell you when you're learning to stitch is that having your strands lie perfectly parallel is key to how the finished piece looks. That goes double for metallics! These threads really catch the light, so any imperfections are thrown right at your eye.
So how do I get my metallic stitches so even? Well, I use a few tricks. To begin with, I use half the length of metallic thread than I do of regular thread. Metallic fibers twist easily, and when they twist, they kink and get pulls which causes the metallic foil to separate from the cotton core. Nisht Gut!
I also railroad the top *and* bottom legs of each X. This is where you run your needle between the threads before coming through the fabric. This technique ensures that your threads lie parallel and flat. Make sure you do this for both the top and bottom legs of your X. For a refresher on railroading, take a look at Serious Stitches. There's also a great video tutorial on YouTube.

(source: serious stitches - srithre.com)
I also let the needle untwist *much* more often than with cotton thread, and I periodically un-thread the needle, separate the strands, trim the ends so they're all even, and then re-thread the needle. It's a lot of extra work, but the results are worth it.

